
 Swedish
 English
 Arabic
 French
 Italian
 German
 Spanish (Spain)
 Thai
 Japanese
 Turkish
 Indonesian
 Vietnamese
 Polish
 Portuguese
 Malay
 Spanish (Mexico)

Use this daycare renovation planning checklist to prepare changes to rooms you already use. Add a person and a date beside each unfinished box. You can skip anything outside the work you have planned.
What Needs Fixing In Your Rooms?
Walk through your rooms during a normal day before choosing new finishes or fittings.
- ☐ Photograph the problems you want to fix and note when you notice them. A crowded entrance at collection time gives you a clearer starting point than a general request for more space.
- ☐ If noise keeps interrupting reading or rest, review your quiet and active areas. Try moving the activity or changing its time before adding a partition to the building work.
- ☐ List what has no proper storage space, including sleep mats, spare bedding and materials you rotate. Match your daycare storage choices to those items and where you use them before deciding how much fixed cabinetry to add.
- ☐ If you are changing a room for infant care, identify which existing fittings need to move for sleep, feeding, changing and floor play.
- ☐ Separate repairs you need now from changes you can leave for later. Have leaks, damp patches and damaged floors checked before covering them with new finishes.
Decide What Is Worth Keeping
You may need only a few replacement pieces. Check how your existing furniture will work with the changes you have just listed.
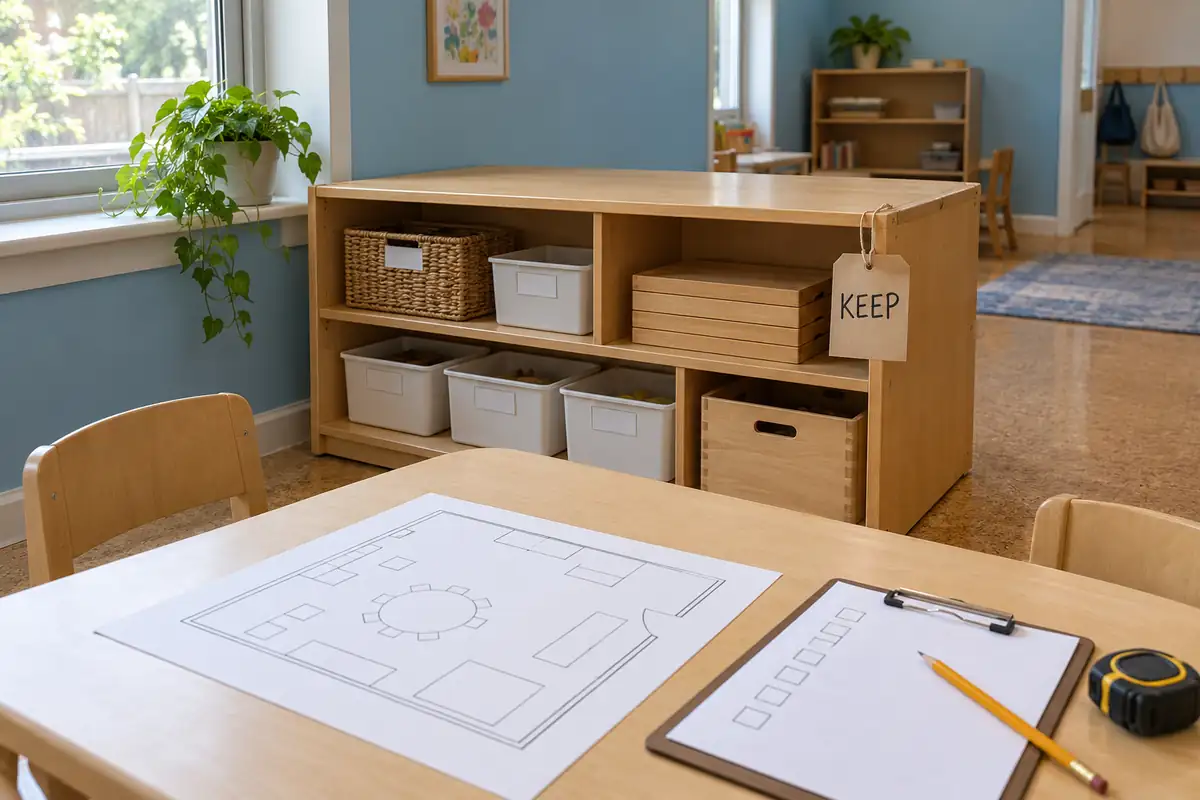
- ☐ Make a keep, repair and replace list with quantities and photos. Use the furniture repair and replacement checks to judge condition, rather than replacing everything because you are renovating.
- ☐ Put the actual sizes of old and new pieces on your revised daycare floor plan. Account for new wall and floor finishes, cabinet doors and pulled-out chairs. Check that existing trays will fit any replacement shelves.
- ☐ When keeping chairs but changing tables, or the other way round, check the two together. Use the table and chair size guide to check seat height and legroom, not just the age label.
- ☐ Mark fixing points for wall storage, mirrors and play panels before finishing the walls. Have your installer confirm whether the wall needs extra support and which fixings to use.
- ☐ For replacement products, request documents for the exact model, size and intended use. Check the relevant daycare furniture safety standards before accepting a supplier’s general claim of compliance.
- ☐ Label retained furniture by its destination room and arrange protected storage away from the work. Keep removable shelves and hardware with the correct unit.
Find Out Which Changes Need Permission
With your proposed changes on paper, you can check what your existing approval covers and what needs a separate decision.
- ☐ Check your lease and obtain any required landlord consent. Confirm renovation cover and contractor insurance with your insurer before signing.
- ☐ Send your marked-up plan to the relevant childcare, building and fire authorities. Record the notices, permits and inspections you need. For an Australian service under the National Quality Framework, start with ACECQA’s premises-change guidance.
- ☐ Recheck your usable area if you are adding partitions, toilets or fixed storage. Use the daycare space requirements guide as a starting point, then confirm the local calculation and any effect on your approved capacity with your regulator.
- ☐ Arrange qualified assessment of possible lead or asbestos before disturbing old materials. If your US setting was built before 1978, check the EPA lead-safe renovation requirements and applicable state rules when selecting a contractor.
Can You Stay Open During The Work?
Use your building schedule to work out which rooms, entrances and facilities will be unavailable at each stage.
- ☐ Decide where you will provide care during each phase, including any water or power shutdowns. Confirm temporary room use and permitted numbers with your regulator. Plan closure or approved alternative care if essential facilities will be unavailable.
- ☐ Mark separate routes for deliveries, contractors and children. Keep access to toilets, meals, sleep areas and exits clear of the work zone, with tools and materials secured.
- ☐ Agree on barriers, shared ventilation and dust control with your contractor in writing. Use the EPA’s renovation air-quality guidance to discuss the plan. Include noise and work hours; evening work alone does not remove the risk of dust or fumes the next day.
- ☐ Give families and your team the closure dates, temporary entrances and collection arrangements. Name one contact for updates and agree what you will do if work runs late.
Allow For More Than The Building Quote
Put your cost sheet beside the work schedule. Include what you will pay for while rooms are out of use, as well as what you are buying.
- ☐ Compare quotes against the same work list. Include removal, waste, assembly, wall fixing and final cleaning. If you remove built-in cabinets, price repairs to the exposed wall and floor too.
- ☐ Add storage hire, alternative care costs and bills that continue during closure. Agree on an allowance for unexpected repairs and who can approve extra spending in writing.
- ☐ Confirm what your delivery charge includes. Check packaged sizes against the access route, whether unloading and carrying upstairs are covered, and where goods can wait if a room is not ready.
- ☐ Match order deadlines and deliveries to the contractor’s room-handover dates. Leave time for required drying or curing, furniture installation and inspections instead of booking everything for the final day.
The Last Walk-Through
Agree who will check the finished work and which records you need before using the room again.
- ☐ Walk through the installed room with your contractor and installer. Check doors, furniture fixings and changed building systems, with qualified sign-off where needed. Record faults, who will fix them and the agreed date.
- ☐ Obtain records of the required final cleaning, testing or clearance. Keep affected rooms out of use until safety issues are resolved and any required permission to resume use has been received.
- ☐ Keep warranties, care instructions and a record of concealed pipes, cables or wall supports with your updated room plan. You will need these when repairing or changing the room later.
Slutsats
If you need help fitting new pieces around furniture you are keeping, you can share your measured plan and keep list with Xiair World.