
 Italian
 English
 Arabic
 French
 German
 Spanish (Spain)
 Thai
 Japanese
 Turkish
 Indonesian
 Vietnamese
 Polish
 Portuguese
 Malay
 Swedish
 Spanish (Mexico)
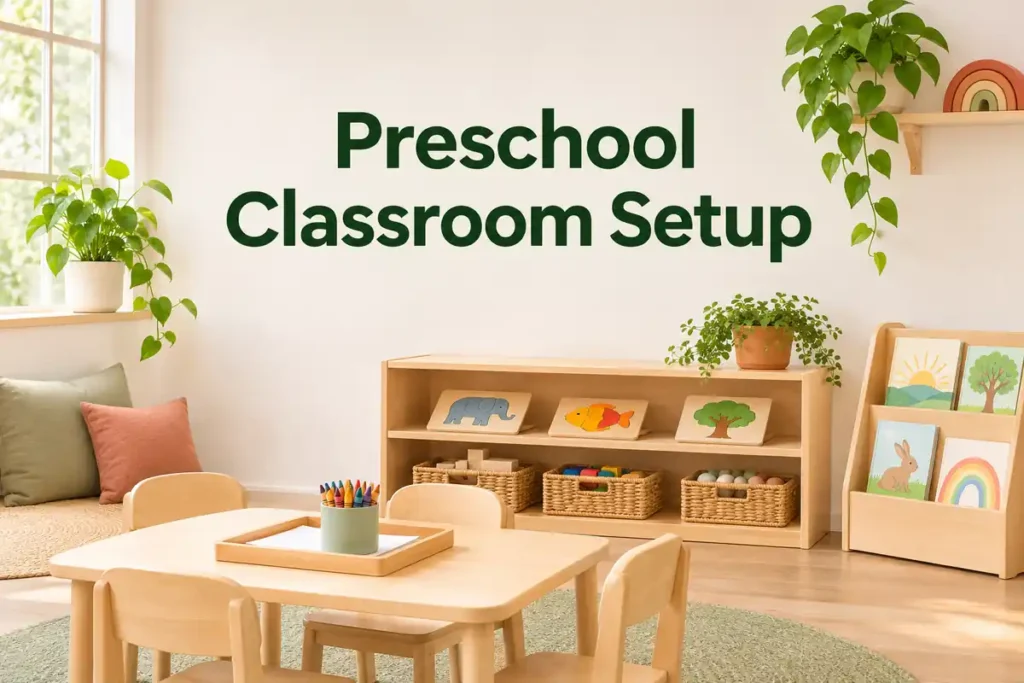
Setting up a preschool classroom means getting it ready for a normal day, from the first activity to clearing away afterwards. You need places to play and work, materials ready to use, and somewhere for the everyday items that rarely appear in classroom inspiration photos.
Start with your room and the children who will use it. Choose the activities you will offer, match the furniture to those activities, put the materials in place, and try the finished setup before the first session.
Start With The Room You Have
Write down the age range, the number of children using the room, and the activities your day includes. Note whether you will serve meals or provide rest time here. These details help you prepare for the whole day rather than only the free-play session.
Check the actual room against your plan. Measure the available space and note doors, windows, sinks, columns, and fixed cabinets. Photograph anything that is missing from the drawing. If the positions of your main areas are still undecided, use the preschool classroom layout guide before you start moving furniture.
Next, list what you already have. Record the size, quantity, condition, and intended use of each piece. A shelf from another room may still be useful; a chair in good condition may be the wrong size for this group. Separate items you can use from anything needing repair or replacement.
Keep your room measurements and equipment list together. When a product changes, update the list as well as the room plan so you do not prepare for one size and receive another.

Choose The Activities To Prepare First
Decide which activities you want available at the start. You do not need a separate furniture set for every subject. Drawing, puzzles, and sorting can use the same table at different times, while an ongoing block build needs floor space that can stay in use.
Use the examples below to connect each activity with a place to do it and a small set of starting materials. Adjust the selection to your curriculum and group; this is a starting point, not a required shopping list.
| Attività | A Place To Use It | Materials To Prepare |
|---|---|---|
| Books and stories | A book display and comfortable seating or floor space | A manageable selection of books, including familiar stories and different subjects |
| Building | Open floor beside block storage | Blocks and a few suitable figures or vehicles |
| Pretend play | Space for a simple familiar scene, such as a kitchen or shop | A small collection of props that work together |
| Drawing, writing, and art | A suitable work surface with somewhere for unfinished work to dry | Paper, drawing tools, and the supplies needed for your first art activities |
| Puzzles, counting, and sorting | A table or floor workspace | Complete puzzles, counters, and sorting materials suited to the group |
| Discovery and sensory exploration | A surface or tray appropriate to the activity | Selected objects and tools, checked for age suitability and supervision needs |
| Group stories, music, and movement | A usable shared floor area | Only the books, music resources, or movement props needed for the session |
For a more detailed look at individual areas, the guide to setting up learning centers covers those choices. Here, your next task is to turn the activities you have selected into a workable furniture list.
Choose Furniture In The Right Sizes And Quantities
Count places according to what happens at the same time. If everyone eats together, you need suitable seating for everyone at that meal. During free choice, you may need only a few places at the art table because other children are using the floor areas. Do not calculate table quantities from enrolment alone.
Match chairs and tables as a pair. Check foot support, seat depth, and room for legs under the tabletop rather than relying only on an age label. If you are keeping chairs and buying tables, record the chair measurements before choosing the replacement. Use the preschool furniture size guide for the detailed sizing checks.
When comparing preschool tables, consider the usable surface as well as the stated number of seats. A drawing activity needs space for paper and tools; a meal needs room for plates and cups. A table that seats a group for one task may be too crowded for another.
For shelves, cabinets, and other large pieces, confirm the dimensions of the exact model you will receive. A smaller-looking version in a photo is not a substitute for measurements. If you request a size change, ask for the revised dimensions and installation requirements before you confirm it.
Set your spending priorities around complete, usable activities. Allow for the trays, accessories, delivery, and assembly needed to use the furniture. Extra decorative pieces can wait if an everyday activity is still missing something essential.
Assemble And Check The Furniture
Unpack and check each piece against your list before setting out learning materials. Set aside damaged or incomplete furniture until repairs or assembly are finished. Follow the manufacturer’s instructions for assembly and any required anchoring, using suitable installation help where needed.
Place the larger pieces according to your room plan, then add chairs and smaller items. Remove packaging as you go so you can check the furniture in its actual working position.
Pull chairs out into their working positions and open cupboard doors. Check the space these actions take, not just the furniture’s footprint when everything is tucked away. Keep exits and required accessible routes clear under the rules that apply to your setting.
With the furniture in place, check your view from the places where you will help children. A shelf may mark an area clearly but hide a child sitting behind it. The Head Start guidance on active supervision connects room arrangement with being able to see, hear, and reach children. Use that practical check without treating a furniture arrangement as a replacement for supervision.
Make The Materials Ready To Use
Work through one activity at a time. Open packaging, check that sets are complete, and prepare the parts needed to begin. An easel needs paper and drawing or painting tools. A puzzle needs all its pieces. A shelf full of unopened boxes is still work waiting to be done.
Put everyday materials where the activity happens. Use low, accessible shelves for items children may choose independently, with a simple picture or word label showing where each set belongs. Keep supplies that require adult control in the appropriate secure storage.
Choose contenitori per la conservazione in aula around the materials you are storing. Check that puzzle boards, paper, and longer construction pieces fit without bending or being forced in. Group the parts of one activity together so you do not have to collect them from several places before play can begin.
Put out enough choice for the opening sessions and store spare stock separately. You can add to the selection as you learn what the group uses. The CLI Pre-K Classroom Environment Checklist is a useful reference for reviewing accessible materials and the classroom environment, rather than judging readiness by how full the shelves look.

Prepare For Arrival, Meals, And Rest
Now prepare the everyday parts of the room that sit outside the learning areas. Give bags, coats, spare clothes, and personal belongings an assigned place. When choosing classroom cubbies, consider the belongings you expect to store, including bulky seasonal clothing, rather than counting compartments alone.
Stock the handwashing point and put cleaning supplies in their designated secure place. Prepare the equipment for serving and clearing meals if you use the room for eating. Follow your setting’s hygiene procedures and local requirements; classroom setup is not a substitute for those procedures.
If the room also serves as a rest space, prepare the suitable sleep equipment, individual bedding arrangements, and storage before the first day. Allow for children who remain awake within your supervision arrangements. The preschool nap-time guide covers rest needs and room use in more detail.
Try changing a shared table from an activity to a meal, or a floor area from play to rest. Decide where unfinished work will go and where the cleared materials will wait. A shared space is useful only if you can make the change without leaving equipment in a temporary pile.
Finish The Displays And Try The Room
Add the visual information you need at the start, such as a simple picture schedule and signs that help children recognize the areas. Leave space for children’s work instead of covering every wall before the group arrives. Check for glare on displays and work surfaces at the time of day you will use them.
Run through a short session with the room fully stocked. Try an activity from taking out the materials to clearing them away. Notice practical gaps, such as no container for used brushes or an activity that takes too long to clear away. Resolve these problems before the first session.
Give anyone working in the room time to find the supplies and understand the setup. Keep a short list of unresolved items, with a person responsible for each one. Resolve safety-critical issues and obtain any required approvals before children use the room; an attractive setup is not evidence that those checks are complete.
Domande frequenti
How Much Time Should You Allow To Set Up A Preschool Classroom?
There is no single timetable for every room. Work back from confirmed delivery dates, the assembly required, and the time available to unpack and prepare materials. Leave a buffer for missing parts, delayed deliveries, or installation problems before the first day children will use the room.
What If Another Program Uses The Same Classroom?
Agree on what can stay in place and what must be removed after your session. Give each program clearly identified storage and decide who can access shared supplies. Photograph the agreed handover arrangement without children or personal information in view. This gives both teams a reference when returning the room to its shared use.
Conclusione
If you need help completing the furniture selection, share your room plan and existing equipment list with Xiair World. You can discuss suitable pieces for the room you are preparing without replacing everything you already own.