
 Portuguese
  English
  Arabic
  French
  Italian
  German
  Spanish (Spain)
  Thai
Thai  Japanese
  Turkish
  Indonesian
  Vietnamese
  Polish
  Malay
Malay  Swedish
  Spanish (Mexico)
When you plan an outdoor play area, it is easy to start by looking at equipamentos de playground. You may already have a slide, mud kitchen, playhouse, climbing frame, or bike set in mind. But before you choose products, you need to know whether they actually work for your children and your space.
Start with the basics: who will use the area, how much space you have, how children will move through it, and what types of play you want to support. Once those points are clear, choosing equipment becomes much easier.
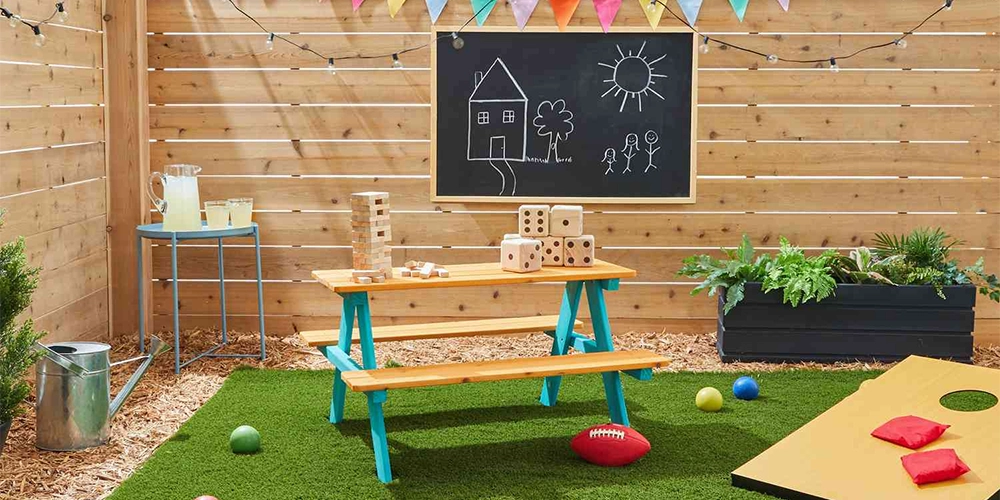
Start With Age Group, Capacity, and Daily Use
First, decide who will use the outdoor area. You should know:
- the age of the children;
- how many children will use the area;
- whether different age groups share the space;
- how often children go outside;
- and what types of outdoor activities are part of your program.
Age makes a big difference. If you are planning for infants or young toddlers, you will usually need lower equipment, simple movement challenges, soft play options, sensory activities, and plenty of open floor space.
For preschoolers, you can add more climbing, balancing, riding, dramatic play, sand and water play, and other activities that give children more challenge.
If your centre has several age groups, think about whether they should use the same outdoor area.
For example, if you want one outdoor area for children under two and another for children aged two to five. Even when the same product is used, the size may need to change. We have also worked on projects where mud kitchens were planned at different heights for infants, toddlers, preschoolers, kindergarten children, and older children.
Measure the Outdoor Area Carefully
Look at the space itself. The total square footage is useful, but it is not enough to make a layout. You also need to mark:
- the full length and width;
- doors leading outside;
- gates;
- fences;
- walls;
- windows;
- existing trees;
- columns;
- slopes;
- covered areas;
- drains;
- fixed playground equipment;
- and any space that children cannot use.
These details can change the whole layout.
If you have an outdoor plan, but some wall or fence dimensions are missing. It may seem like a small detail, but without those measurements, it is difficult to know whether a playhouse, climbing unit, bike path, or other item will really fit.
If you already have a floor plan or site plan, use it. If you do not, a simple drawing with clear measurements is still much better than choosing products only from photos.
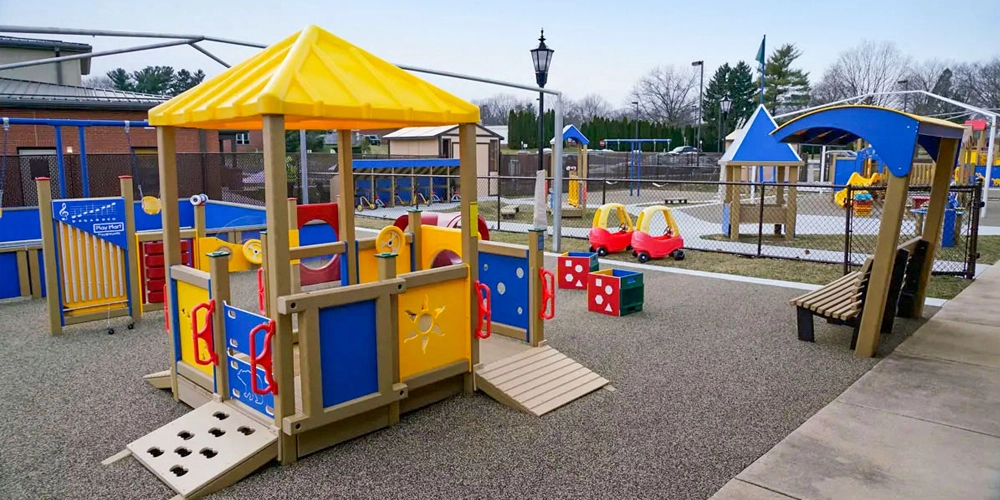
Do Not Copy Another Centre’s Outdoor Size
You may see another childcare centre with a playground that looks similar to yours, but that does not mean the same layout will work.
For example, one of our projects had separate outdoor spaces of about 56 ft × 26 ft. That is useful as a real project example, but it is not a standard size. Your own plan should be based on:
- your licensed capacity;
- the age groups;
- the shape of the site;
- and local childcare requirements.
Work with the space you actually have.
Plan How Children Will Move Through the Space
Before you divide the playground into activity areas, look at movement. Imagine a normal outdoor session. Children come through the door. Some go to the bikes. Some go to the sand area. Others want to climb or play in the mud kitchen.
- Where will they walk?
- Where will they run?
- Where will bikes and scooters travel?
- Can teachers see them?
These questions should shape your layout.
Keep Main Paths Clear
Children should be able to move between different areas without walking through the middle of another activity. For example, you would not want the main path to pass through a sandbox or directly in front of a slide.
You should also avoid placing large furniture where it blocks a main route. Clear paths make the area easier for children to use and easier for staff to manage.
Give Bikes and Scooters Their Own Route
If you plan to use trikes, bikes, scooters, or other riding toys, give them enough space. Try to create a clear route instead of letting children ride anywhere they want. Keep faster riding areas away from:
- infant play;
- quiet activities;
- sand and water play;
- and the exits of climbing equipment.
You can use a simple loop around part of the playground if the space allows. This also helps you decide where to store the bikes when they are not being used.
Check What Teachers Can See
Stand near the classroom door or the places where teachers are most likely to supervise. Can you see the whole outdoor area? Look for places that could become hidden behind:
- playhouses;
- tall climbing equipment;
- storage;
- planting;
- walls;
- or corners of the building.
You do not need an empty playground just to keep good views. You simply need to be careful about where you place taller items.
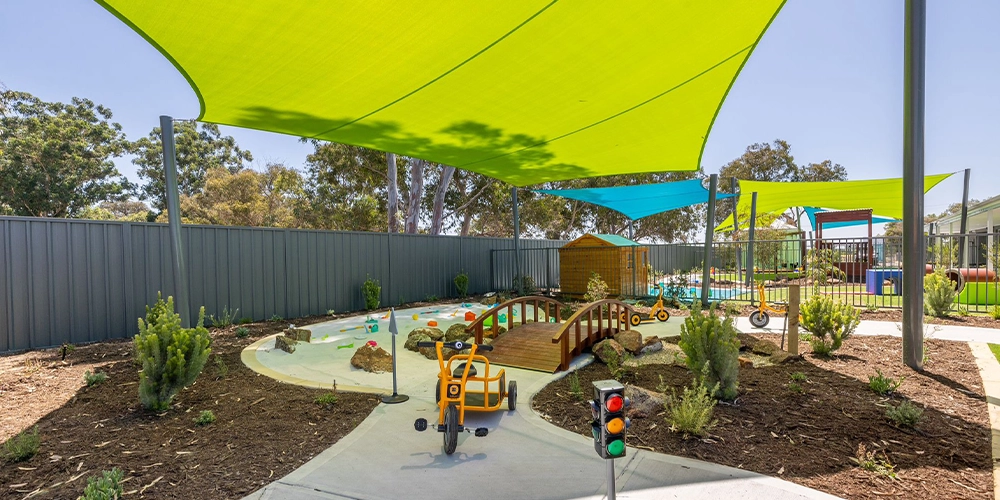
Divide the Space Into Play Areas
Once the main paths work, you can decide what children will do in the rest of the space. You do not need every type of activity. Choose the areas that match your children, program, space, and budget.
Jogo ativo: This is where children can move their whole body.
- climbing frames;
- slides;
- balance beams;
- stepping stones;
- small obstacle courses;
- or open running space.
Your original outdoor area may already have a large playground structure. If so, work around it rather than adding another large structure simply because there is still some empty space. Leave children enough room to approach, use, and leave the equipment safely.
Sand, Water, and Messy Play
- sandboxes;
- water tables;
- mud kitchens;
- digging areas;
- and loose play materials.
Place these activities where cleaning and water use are practical. For example, if you use a mud kitchen every day, placing it close to a water point can save teachers a lot of work.
You should also think about drainage. An attractive water-play corner can quickly become a problem if water collects around it after every session.
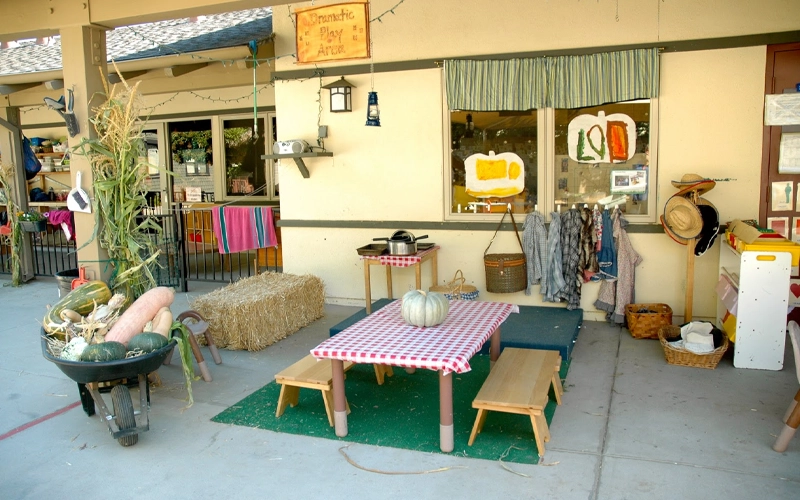
Peça Dramática: Outdoor dramatic play does not need a complicated theme.
- a mud kitchen;
- playhouse;
- small shop;
- workbench;
- stage;
- simple loose props.
Try to keep this area flexible. Children may use the same playhouse as a home one day, a shop the next day, and a café the day after. You do not always need more products to create more play.
Nature and Discovery: If you want children to have more contact with nature, you can include:
- planting areas;
- small gardens;
- insect houses;
- logs;
- stones;
- soil;
- flowers;
- natural loose parts.
Even a small nature corner can work. You do not need to turn the whole playground into a natural playground.
Quiet Play: Outdoor time is not only for running and climbing. Some children may want to sit, draw, read, talk, or work on a small activity. You can create a quieter area with:
- benches;
- outdoor tables;
- chalkboards;
- easels;
- reading furniture;
- small activity panels.
Try to keep this area away from bikes and busy climbing equipment.
Keep Some Space Open: This part is easy to forget. You do not need to fill every empty area with furniture. Open space can be used for:
- running;
- group games;
- loose parts;
- temporary activities;
- building;
- movement activities;
- new activities that teachers bring outside.
If your plan already feels full before children start using it, you probably have too much equipment.
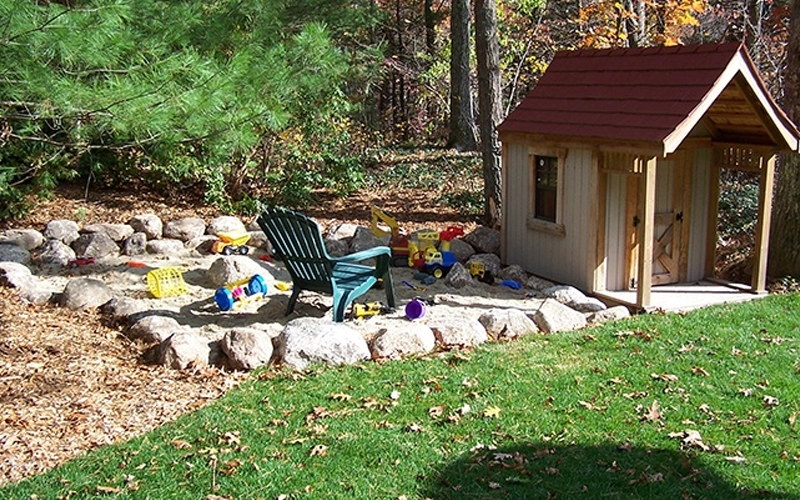

Think About Which Areas Should Be Next to Each Other
After you decide which play areas you need, look at how they connect. Some activities naturally work well together.
| Areas | Why They Work Together |
|---|---|
| Mud kitchen + sand and water | Both involve messy and sensory play |
| Garden + nature area | Children can explore plants, soil, and insects |
| Playhouse + dramatic play | Children can move between different pretend-play activities |
| Art + quiet area | Both work better away from busy movement |
| Bike storage + riding route | Easier to take bikes out and put them away |
You should also look for combinations that may cause problems. A bike route running through a quiet area is one example. A climbing frame placed directly beside a toddler play area is another.
You can use low shelves, benches, plants, paths, or changes in flooring to show where one area ends and another begins. You do not always need fences between every activity.
Check the Real Space Needed for Playground Equipment
One mistake often happens during product selection. You find a climbing structure that measures 2 × 3 metres. So you assume you need 2 × 3 metres of space.
But the product size is only part of the playground. You may also need space around it for:
- children getting on and off;
- slide exits;
- moving between activities;
- safe fall areas;
- and the space required between different pieces of equipment.
This is especially important for climbing equipment, slides, swings, and other larger playground structures. So when you measure your playground, do not only focus on the product fit; you also need to check whether there is still enough space around it or not.
What If the Product You Like Is Too Large?
This happens quite often. You may find a playground item you really like, but once we place it on the plan, it takes up too much of the outdoor area. You usually have a few choices:
- choose a smaller model;
- change the layout;
- remove another item;
- use a different type of equipment;
- or ask whether the product can be made in another size.
We have adjusted outdoor products to suit customers’ playground dimensions. However, changing the product size should not mean removing the space needed around it. The product still needs to work safely for the children using it.
Choose the Right Ground Surface for Each Area
You do not need to use the same surface across the whole outdoor area. Different activities need different ground conditions, so it is better to choose the surface after you know how each zone will be used.
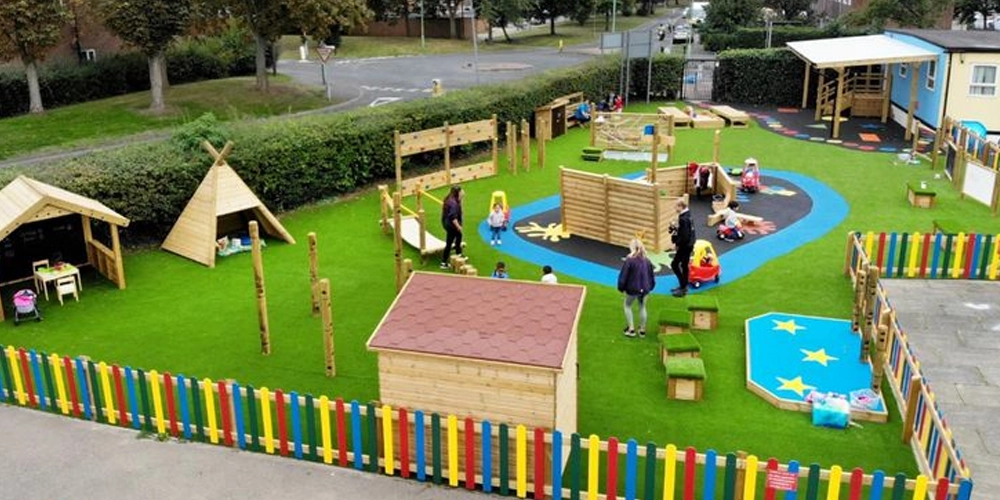
Artificial Turf: Artificial turf is common in daycare outdoor areas because it looks neat, is easy to maintain, and works well for general play. It is a good choice for:
- open play areas;
- areas around outdoor tables and furniture;
- walking areas;
- and spaces where you want a softer, more natural look.
But ordinary turf should not automatically be used under climbing equipment. If children can fall from a raised structure, you need to check whether the surface provides the required impact protection. Also think about heat. Turf can become hot in strong sun, especially in warmer climates.
Rubber Surfacing: Rubber is often used around playground equipment because it can provide better impact protection.
- poured-in-place rubber;
- rubber tiles;
- and other tested playground safety surfaces.
Rubber works well for:
- climbing areas;
- slide areas;
- active play zones;
- and places where fall protection is needed.
When choosing rubber surfacing, check the required thickness and the fall height of the equipment above it. Not every rubber surface provides the same level of protection.
Engineered Wood Fiber or Wood Chips: Wood-based playground surfacing can be another option under play equipment. It has a more natural appearance and can work well in larger outdoor areas. However, it needs more maintenance than a fixed surface.
- refill it;
- spread it evenly;
- keep the correct depth;
- and stop it from moving away from high-use areas.
It may also be less convenient for wheeled toys and some accessibility needs.
Sand: Sand can be used both as a play material and as part of the ground surface. It works best in:
- sand-play areas;
- digging zones;
- sensory areas;
- and some natural play spaces.
Sand needs clear edges or borders to stop it spreading into nearby paths and activity areas. You should also plan for drainage, cleaning, and regular maintenance.
Concrete, Asphalt, or Paved Surfaces: Hard, smooth surfaces are useful where children use:
- bikes;
- trikes;
- scooters;
- and other wheeled toys.
They can also work well for main paths between different play zones. However, hard surfaces are not suitable as fall-protection surfaces under raised playground equipment. Use them mainly for movement routes, access paths, and low-risk activities.
Natural Grass: Natural grass can make an outdoor area feel softer and more natural. It may work well for:
- open play;
- picnic areas;
- nature zones;
- and general movement.
But it can become muddy, worn, or uneven in high-traffic childcare areas. It also needs regular watering, cutting, and maintenance. Like ordinary turf, natural grass should not be treated as a safety surface under equipment where fall protection is required.
Natural Ground, Soil, and Mulch: Natural ground works well around:
- gardens;
- planting areas;
- insect areas;
- digging spaces;
- and nature play.
These surfaces give children more direct contact with natural materials. But they are usually better for specific zones rather than main routes or active playground equipment.
Choose Outdoor Equipment After the Layout Works
At this point, you should have a much clearer idea of what you actually need. Instead of opening a catalog and choosing everything you like, look at each area of your plan.
| What You Want Children to Do | Products You Could Use |
|---|---|
| Climb and balance | Climber, balance beam, stepping stones |
| Play with sand and water | Sandbox, water table, mud kitchen |
| Pretend and role-play | Playhouse, outdoor kitchen, role-play furniture |
| Explore nature | Planters, insect house, garden tools |
| Draw and create | Outdoor easel, chalkboard, activity wall |
| Sit and work together | Outdoor tables and benches |
| Ride | Trikes, bikes, scooters |
| Build and create | Outdoor blocks and loose parts |
This does not mean you need something from every row. A small outdoor area may work better with a few flexible products. A larger centre may have room for both large playground equipment and several smaller activity areas.
Plan Where Outdoor Items Will Be Stored
Bikes, helmets, balls, loose parts, sand tools, and water-play items all need storage. Keep frequently used items close to the area where children use them.
You should also check whether large outdoor products can stay outside all year or need covered storage during certain seasons.
Decide What You Want to Install Permanently
You should also separate large fixed playground equipment from smaller outdoor furniture.
Large items may include:
- climbing systems;
- large slides;
- swings;
- and full playground structures.
These products may need:
- foundations;
- local installation;
- special flooring;
- site work;
- or local inspection.
Smaller outdoor products may include:
- mud kitchens;
- outdoor benches;
- easels;
- water tables;
- small playhouses;
- activity panels;
- outdoor storage;
- and stepping or balance products.
These are often much easier to move, replace, or add later.
You do not have to buy everything from one place.
Sometimes it makes sense to buy the large playground structure locally. Then you can source the smaller outdoor furniture together with your indoor daycare furniture.
You may arrange the large fixed playground locally, while choosing mud kitchens, outdoor tables, easels, playhouses, bikes, and other smaller products from us. This can make installation and project planning easier. Choose what makes sense for your project rather than trying to force every product into one order.
Choose Materials for Your Climate
The right outdoor material depends on where your centre is located. You need to think about sun, rain, humidity, snow, temperature changes, and how much maintenance you are willing to do.
Hot and Sunny Areas: For places such as Australia, the Middle East, and the southern United States, strong sun and high temperatures are often the main concerns. Look for:
- UV-resistant plastic;
- powder-coated metal;
- outdoor-treated timber;
- finishes that resist fading;
- and materials that do not become too hot in direct sun.
You should also plan enough shade, especially around tables, sand play, and areas where children stay for longer periods.
Cold and Snowy Areas: For Canada, northern U.S. states, and other colder regions, materials need to handle snow, moisture, freezing temperatures, and repeated temperature changes.
Treated timber, galvanized or powder-coated metal, and outdoor-grade plastics are usually better choices than materials made only for indoor use. Pay attention to:
- water getting into joints;
- rust;
- cracking;
- loose hardware after winter;
- and whether furniture should be covered or stored during severe weather.
Wet and Humid Areas: In humid or rainy regions, such as parts of Southeast Asia and coastal areas, moisture can be a bigger problem than temperature. Choose materials that resist:
- mold;
- rot;
- rust;
- swelling;
- and surface damage from long-term moisture.
Good drainage around the furniture is also important. Even outdoor-grade products will last longer if water does not sit around the base.
Coastal Areas: If your daycare is close to the sea, salt in the air can speed up corrosion. For metal parts, look for better corrosion protection such as galvanized or suitable powder-coated finishes. Stainless steel hardware may also be a better choice for exposed areas.
You should also check screws, hinges, brackets, and other small metal parts, not just the main frame.
Check more than the main material. When comparing outdoor furniture, do not look only at whether it is made from wood, metal, or plastic. Also check:
- the surface finish;
- screws and hardware;
- joints;
- edges;
- drainage points;
- ground contact;
- UV protection;
- corrosion protection;
- and maintenance needs.
A good outdoor product should be designed as a complete outdoor system, not simply made from a material that can survive rain. When you place each play area, also check how much direct sun it receives during the day. Sand, water play, tables, and quiet areas usually need more shade than routes children only pass through.
Add the Style After the Layout Is Clear
You may want a natural playground, Montessori-style area, garden theme, woodland theme, or another look. That is fine. But choose the look after the layout works. First make sure you have the right:
- age areas;
- paths;
- play zones;
- equipment;
- shade;
- and open space.
Then use materials, colours, planting, furniture, and signs to create the style you want. This is especially useful if you like themed outdoor areas. A theme can make the playground look more complete, but it should not decide where everything goes.
Turn Your Outdoor Design Into a Product List
Once you are happy with the layout, prepare the final product list. For each item, record:
- product;
- quantity;
- size;
- age group;
- material;
- outdoor finish;
- assembly;
- installation;
- and where it will go.
Then split the list into two groups:
01. What You Need Now: these are the products you need to open and use the outdoor area.
02.What You Can Add Later: These may be extra activity products, seasonal items, or equipment you can buy when the budget allows.
This is especially useful when you are setting up a new daycare. You do not have to complete every idea on day one. Leave room for the outdoor area to change after you see how children and teachers actually use it.
Check the Whole Plan Before You Order
Before you approve the final layout, go through it one more time.
- Are the age groups clear?
- Do you know how many children will use the area?
- Are all site measurements complete?
- Can teachers see the main play areas?
- Are walking and riding routes clear?
- Are busy and quiet activities kept apart?
- Is there enough room around large equipment?
- Do you still have open play space?
- Does each area have the right flooring?
- Have you planned shade and drainage?
- Is storage easy to reach?
- Are the materials right for your weather?
- Do you know which products need local installation?
- Have you checked your local childcare and playground rules?
If you can answer these questions, you are much closer to a product list that actually fits your centre.
Perguntas frequentes
- How much outdoor space does a daycare need per child?
There is no single rule for every country. The required space depends on your local childcare regulations, licensed capacity, and age group. Check your local rules before you start the final layout. - Should a daycare outdoor area have one large playground structure or several smaller play areas?
It depends on your space and program. A large structure can support active play, but several smaller areas may give children more choices and make the space easier to change over time. - Can indoor preschool furniture be used outdoors?
Usually not unless the material and finish are suitable for outdoor use. Indoor products may swell, rust, fade, or break down faster when exposed to rain, sun, and temperature changes. - Can outdoor playground equipment be customized to fit a small space?
Some products can be adjusted in size or configuration. However, you still need to keep enough space around the equipment for safe use and movement. - What should I send before asking for an outdoor layout?
Send your site plan or outdoor dimensions, age groups, number of children, entrances, fences, fixed structures, and any products or activities you already want to include. - Should outdoor furniture be fixed to the ground?
Not always. Large playground structures may need permanent fixing, while mud kitchens, benches, tables, easels, and other smaller outdoor furniture may stay movable. Follow the installation instructions for each product. - How often should outdoor playground equipment be checked?
Check equipment regularly for loose hardware, damaged surfaces, sharp edges, wear, rust, cracked parts, and changes in the ground surface. High-use areas may need more frequent checks.