Setting up a preschool art center is one of the most exciting—and important—parts of organizing a classroom. It’s not just a corner for paints and crayons. It’s a space where creativity, learning, and independence come together. A well-designed art center helps children express themselves, build fine motor skills, and engage in meaningful hands-on activities every day.
But for many teachers and directors, figuring out how to create a functional, age-appropriate art center in preschool can feel overwhelming. Where should it go? What should it include? How do you keep it organized and easy to manage without constant cleanup or chaos?
This guide breaks it all down. You’ll learn how to set up a preschool art center step by step—from choosing the right location and planning creative zones to stocking the best materials and setting routines that actually work in real classrooms.
Why Is the Art Center Important in Preschool?
If you’ve ever seen a preschooler spend 20 quiet minutes gluing pom-poms to a cardboard box or mixing paint colors until they find “just the right pink,” you already understand why an art center in preschool matters.
The preschool art center is one of the few places in the classroom where children have full control. They choose materials. They decide when something is finished. They solve their own creative problems. In a learning environment where much of the day is structured, this freedom to explore is essential.
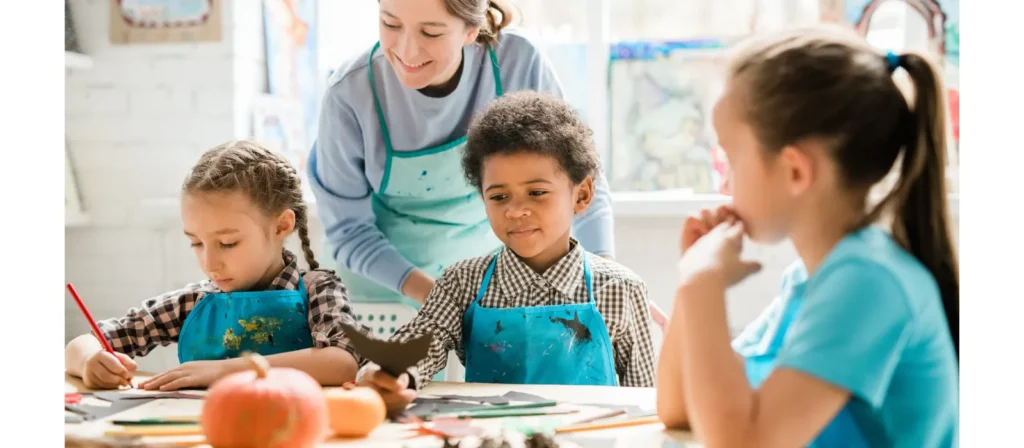
Many teachers report that the art center is where they learn the most about their students. A child who struggles with group activities may quietly thrive at the easel. Another who rushes through table tasks might slow down and focus for ten full minutes when given a paintbrush and space.
The art center also becomes a classroom management tool. When it’s well-organized and thoughtfully stocked, it gives children a reliable routine space to return to, especially during transitions or after more stimulating activities like outdoor play or circle time.
And let’s be honest—preschool classrooms are full of energy. Having a calming, self-directed space where children can reset through quiet, creative work helps balance that energy without constant adult intervention.
For teachers, the art center isn’t just about crafts. It’s a window into how children think, feel, and solve problems. It helps build observation into your day—not by pulling out an assessment checklist, but by watching how a child approaches materials, interacts with peers, or talks about what they’re making.
In short, a well-functioning art center isn’t optional—it’s foundational. And when it’s set up with real classroom life in mind, it becomes one of your most useful teaching tools.
- It builds fine motor skills
- It supports emotional expression
- It encourages independence
- It promotes social skills
- It connects with other learning areas
How to Set Up an Art Center in a Preschool Classroom
Setting up a preschool art center takes more than putting some crayons on a table. A thoughtful setup makes the difference between a space that gets used daily and one that gets ignored.
In the following steps, we’ll walk you through how to design an art center that’s organized, accessible, and ready for real classroom use—whether you have a large room or just a small corner.
Step 1: Choose the Right Location in Your Classroom
One of the most overlooked but important steps in setting up a preschool art center is where you put it. The location you choose can directly affect how children use the space—and how easy it is for you to manage it during a busy day.
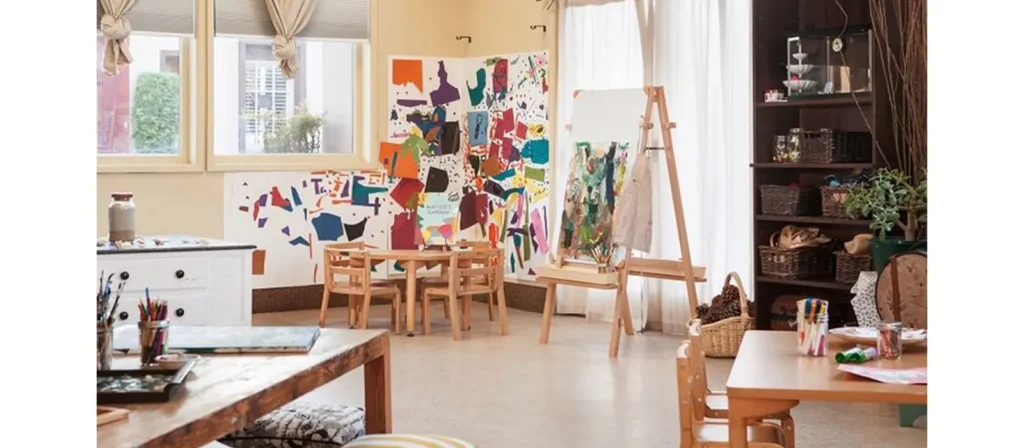
Start by looking for a space that gets natural light, but not direct sun all day. Good lighting helps children see what they’re doing, mix colors better, and stay focused longer. If possible, choose a corner or wall that feels slightly tucked away—this helps create a feeling of “their own space” while still being easy to supervise.
Another key detail: place your art center in the preschool classroom somewhere near a sink or water source. Whether it’s cleaning brushes or wiping glue-covered hands, this simple decision can save you a lot of time and mess. Many teachers also choose to place the art center near a tile or easy-to-clean floor area, instead of carpeted sections.
Also consider the flow of the classroom. Your art center preschool classroom layout should avoid placing the art zone next to quiet areas like reading corners or nap zones. Creative work often gets noisy—scissors snip, chairs move, children talk. Giving it a space of its own helps protect both focus and calm in other areas.
If your classroom is small, don’t worry. Even one wall, a mobile cart, or a single table can become a great starting point. What matters is that children know where it is, how to use it, and feel invited to go there independently.
Use furniture or storage units as visual boundaries. A shelf of supplies can double as a divider to create a cozy “art nook” even in an open classroom.
Step 2: Plan the Creative Flow of the Art Center
To make a preschool art center functional—not just decorative—you need more than cute supplies and labels. You need a layout that matches how children actually use the space. That means planning the creative process step by step, and assigning a clear physical zone to each one.
A successful art center typically includes five connected functional areas:
1. Entry & Inspiration Zone
This is the first impression. It can be as simple as a low shelf displaying seasonal artwork, themed books, or teacher-prepared prompts. This space helps children shift their mindset into “creative mode” before choosing materials.
- Use: small display shelf, wall clips, or magnetic boards
- Add: product spotlight—customizable wall-mounted inspiration boards
2. Material Access Zone
Place open storage units where children can independently choose crayons, glue, paper, or paint. Bins should be clearly labeled (with images + text) and reachable without teacher help. This builds ownership and cuts down on traffic jams.
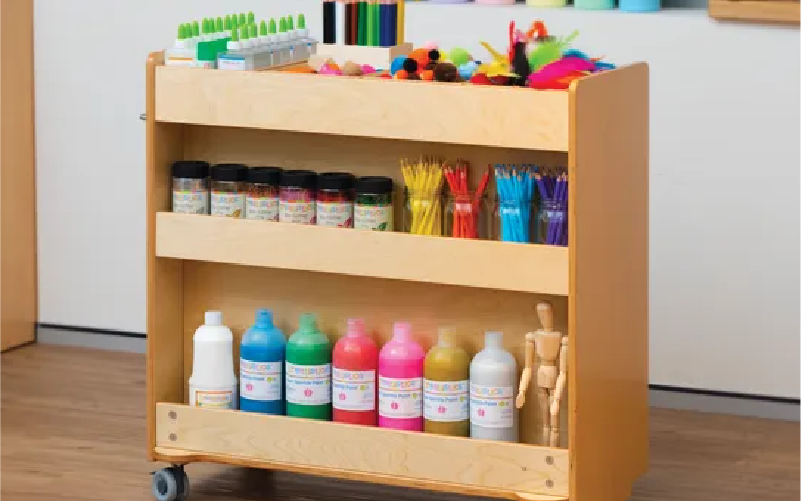
- Use: low open shelves, rolling carts for mobile classrooms
- Add: product spotlight—durable, child-height supply storage with labels
3. Creation Zone
This is where the actual art happens. Tables or easels should be placed with enough space between them to allow free movement. Provide seating for 3–5 children max per table to keep noise low and focus high.
- Use: wipe-clean art tables, easels with built-in trays
- Add: product spotlight—multi-child easel stations with supply trays
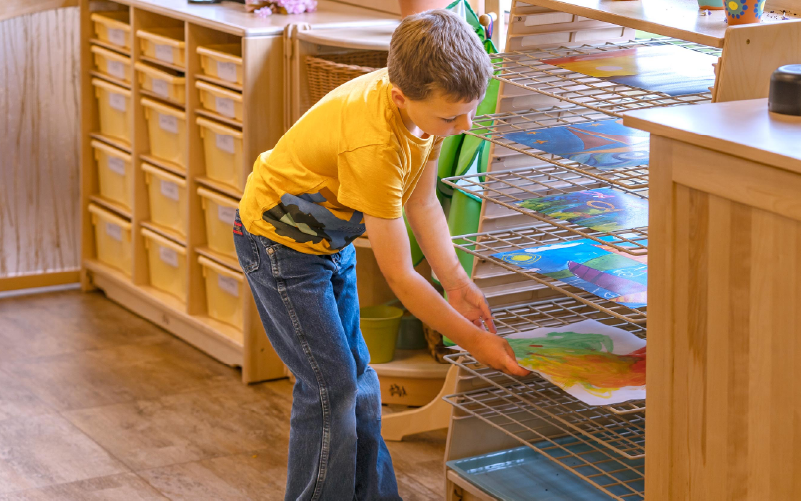
4. Drying & Display Zone
Set up a defined spot for wet paintings or sculptures to dry without being disturbed. Nearby, showcase finished work to build pride and motivation.
- Use: tiered drying racks, vertical wire display systems
- Add: product spotlight—modular drying racks with wheels for flexibility
5. Clean-Up Zone
Place small sinks, wipe stations, or a designated bin for used brushes and rags near the exit of the center. Cleanup becomes part of the process, not an afterthought.
- Use: wall-mounted paper towel holders, “Used Materials” bins
- Add: product spotlight—art cleanup trolleys with compartments
Designing this flow in a clockwise or U-shape keeps movement smooth and avoids traffic congestion. Once children understand the sequence, they begin to manage themselves—choosing, creating, cleaning up—without constant reminders.
Implementation Tip: Use color-coded floor markers or arrows to subtly guide children from one zone to the next. For classrooms with limited space, mobile furniture like rolling carts can help you reconfigure zones between age groups or time blocks.
Step 3: Choose the Right Furniture and Layout for Your Space
Once you’ve mapped out the functional zones of your preschool art center, the next step is choosing the right furniture to bring it to life. Furniture isn’t just about filling a space—it shapes how children interact with materials, how independently they work, and how smoothly the art center runs throughout the day.
The layout must match your classroom’s size, shape, and age group. But no matter the setup, a few core furniture pieces make a big difference.
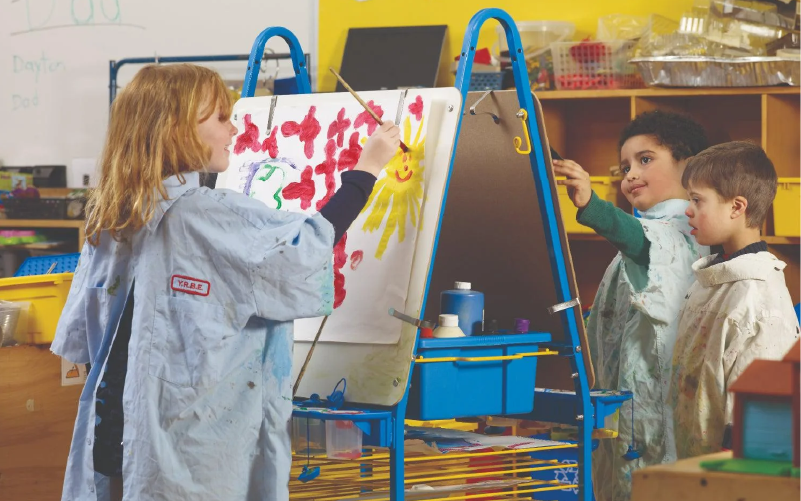
Drawing & Painting Zone
The Drawing & Painting Zone is often the heartbeat of the preschool art center. It’s where children first begin to express themselves visually, mixing colors, creating shapes, and learning how to translate ideas into art. To support that freedom, this area should be open, organized, and inviting.
Recommended furniture & product ideas:
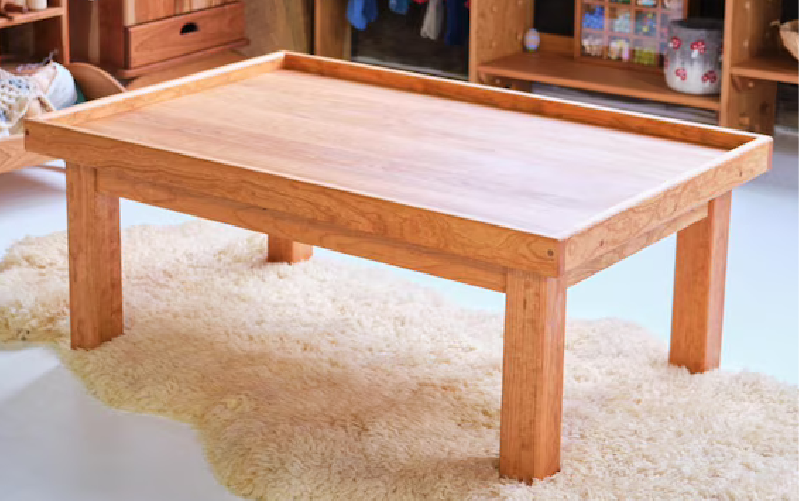
- Child-sized art tables with water-resistant, easy-wipe surfaces
- Double-sided easels with built-in trays for brushes, cups, and paint pots
- Rolling carts for transporting art materials and organizing paint supplies by color
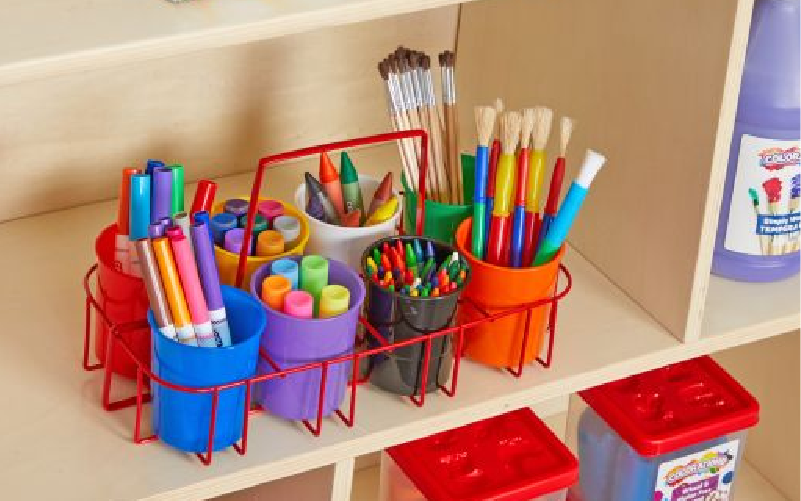
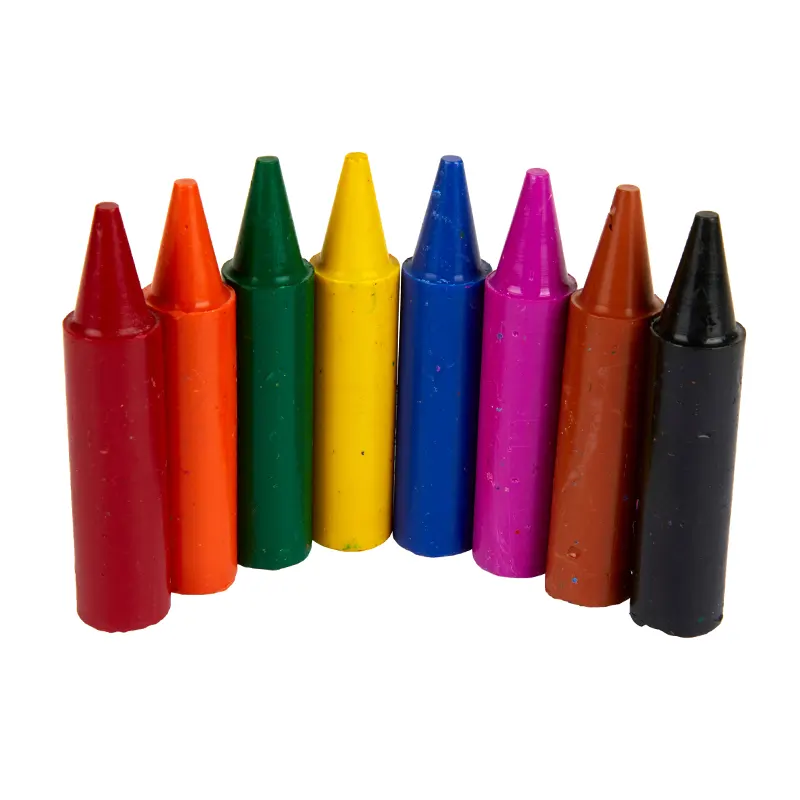
- Crayon and marker organizers—either tabletop spinners or tiered bins
- Wall-mounted roll paper dispensers allow for large mural-style creations
- Apron and smock racks are located at the entrance of the zone
- Paintbrush drying racks or mesh cups to separate wet brushes after use
- Stackable stools or adjustable-height chairs to suit different child sizes
- Clear bins labeled with visuals for storing watercolors, oil pastels, and paper types
The layout should allow at least two children to paint on easels and several more at the table. Position this zone near natural light sources, such as windows or doors, to enhance color perception and mood. Keep materials within children’s reach to promote autonomy—when they can choose their own paper or tools, they engage more deeply.
You can also designate a small wall space for “in-progress” pieces, so children can return to their work over several sessions. This promotes focus, revisiting ideas, and extended engagement—all key skills in early learning.
Collage & Crafting Zone
This zone invites children to build, cut, paste, and experiment with mixed materials. A well-equipped crafting area can keep kids engaged for long stretches—if it’s organized and intuitive.
Recommended furniture & product ideas:
- A low crafting table with a wipe-clean surface
- A multi-compartment supply caddy for glue sticks, tapes, foam shapes, and sequins
- Roll-out drawer units with shallow trays for paper, fabrics, and collage bits
- Wall-mounted paper racks or wire baskets to hold colored paper
- Portable supply carts to move materials between this zone and others
- Scissors rack or magnetic holder (with blunt-tip safety scissors)
- Plastic trays or catch-all mats to define individual workspaces
- Clipboards with paper holders for children to carry their ideas around
- Label holders or picture tags to help children return supplies independently
You might place this zone adjacent to the Drawing & Painting Zone—so children can combine techniques (paint + collage). But keep messy materials (glue, glitter) slightly separated to avoid contamination. Use a splash mat under the table, and keep disposable wipes or paper towels nearby for quick cleanups.


Sculpting & Sensory Zone
Here’s where children can get hands-on and tactile—modeling with clay, playdough, or exploring sensory bins. This zone contributes to deeper foundational learning when given the right setup.
Recommended furniture & product ideas:
- Deep bin storage carts with sealed lids for clay, beads, sand, and sensory materials
- Sturdy sensory tables or tubs with attached rims to contain mess
- Rolling trays or shelves to transport heavy, messy materials to the workspace
- Child-sized stools or standing tables to support both seated and standing work
- Tool kits including rollers, stamps, texture mats, sculpting tools
- Plastic sheets or silicone mats to protect the floor and make cleanup easier
- Apron hooks or hanging smock racks close by
- Mesh drain trays for water-based sensory play or cleaning
- Dry brushes or brush holders for tactile elements
Because this zone can be messier, consider placing it toward the back of your art center in a preschool classroom, away from carpeted or quiet areas. Make sure sinks or water access are within reach—or plan to move materials out for washing. Use mobile carts so children can roll their work to the Cleanup Zone when done.

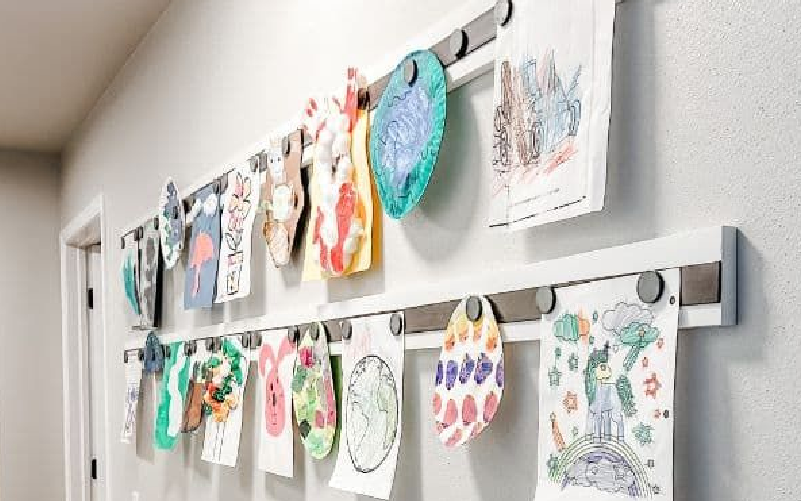
Drying & Display Zone
Every preschool art center needs a place to safely dry wet work and to celebrate children’s creativity. This zone reinforces pride, care, and responsibility.
Recommended furniture & product ideas:
- Tiered drying racks (vertical stacking) with wide spacing
- Wall-mounted clip lines or wires with clothespins for hanging paper
- Magnetic display boards or corkboards for showcasing artwork
- Individual display cubbies or slots for each child
- Portfolio storage racks or flat drawers for long-term pieces
- Gallery-style frames or stands to highlight selected works
- Rotating display wheels or spin racks to feature many pieces in a small space
- Label holders or name tags to assign each child’s display area
To maximize the impact, position this zone near eye level so children can see and discuss each other’s work. Rotate the display weekly to keep the visual interest high. Include a small “artist spotlight” or header for the week’s theme.
Step 4: Stock the Art Center with the Right Materials
Setting up furniture and layout is only half the job. To create a truly inspiring preschool art center, you need the right mix of materials—those that are accessible, age-appropriate, and spark curiosity without overwhelming children.
Instead of filling every shelf with random supplies, think in categories and purpose. This helps you manage the space better and ensures every material contributes to meaningful learning.
Dividing supplies into clear categories helps both teachers and children. Each category should be stored together, clearly labeled, and placed at the right height for preschoolers to access independently.
Here’s a breakdown of essential categories and materials:
Painting Materials
To make the painting zone in your preschool art center both inspiring and manageable, focus on versatile tools and surfaces that support creativity without overwhelming young learners.
Core painting materials to include:
- Washable tempera paint – Ideal for bold, colorful projects that dry quickly
- Watercolor paint palettes – Introduce gentle color blending and brush control
- Paint sticks – A low-mess alternative for younger children or quick activities
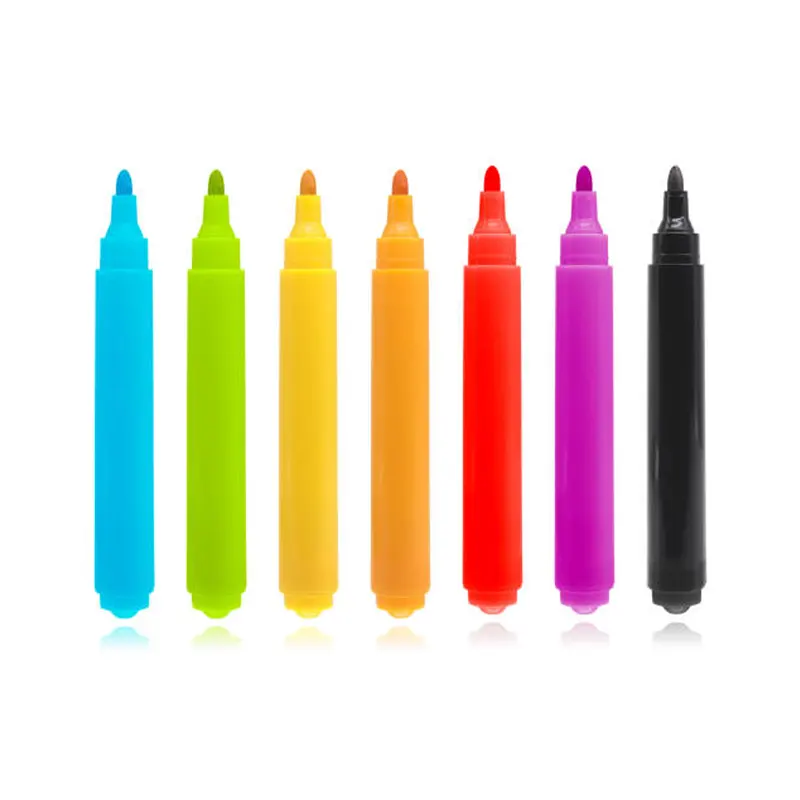
- Dot markers – Encourage grip development and visual planning
- Assorted brushes – Include large grip brushes, fan brushes, and detail brushes
- Foam rollers and sponges – Great for texture and large-surface painting
- Spray bottles & droppers – Offer unique sensory and abstract art experiences
- Mixing trays or paint palettes – Help children explore color theory hands-on
- Large easel paper rolls or sheets – For vertical painting and murals
- Cardboard pieces and mini canvases – Encourage experimentation beyond paper
Storage should allow children to both see and reach what they need independently. Many classrooms use labeled open bins, tiered drying racks, and rolling supply carts to keep everything within reach. It’s also helpful to locate this zone near a sink or provide a bucket-based wash station for brush cleaning and handwashing.
The materials you choose should support process-based exploration, not just product-based outcomes. When children feel free to try, mix, drip, and layer, they learn that art is about ideas, not perfection. That’s the core of a great art center for preschool learning.
Cutting & Gluing Materials
The cutting and gluing area is all about control, choice, and hands-on construction. It helps children build fine motor strength, develop spatial awareness, and start thinking about how individual parts can form a whole. This is a foundational zone in any well-rounded preschool art center.
Recommended tools and materials:
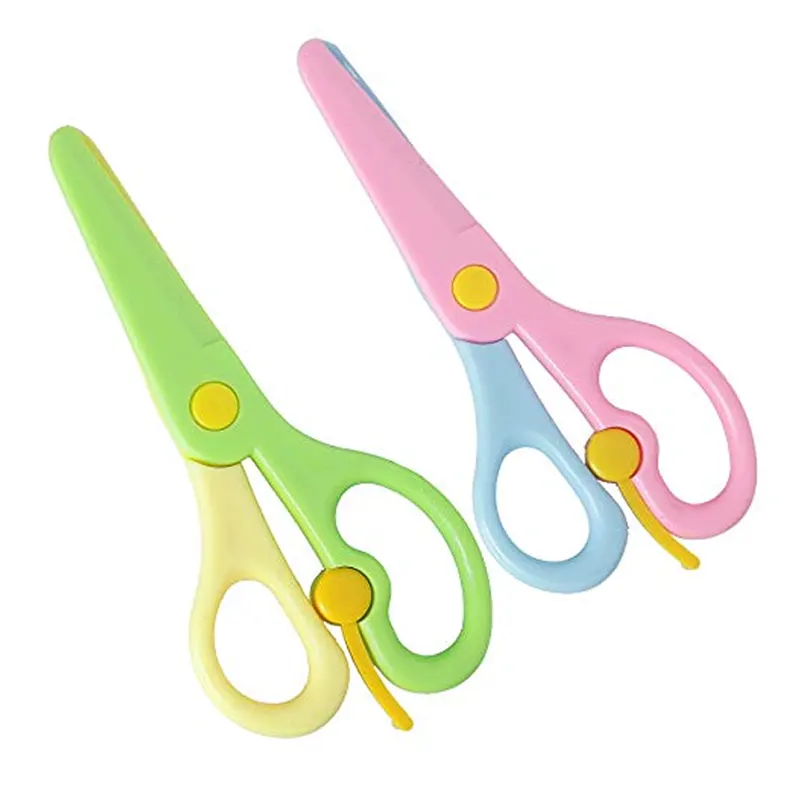
- Child-safe scissors – Rounded-tip, spring-loaded, and loop scissors for different skill levels
- Glue sticks – Easy for preschoolers to use without mess
- White liquid glue – For stronger adhesion and larger collage work
- Glue bottles with twist caps – Promote grip strength and squeeze control
- Tacky glue – For heavier materials like buttons or foam
- Paper punches (shapes and borders) – Add variety and encourage grip practice
- Scrap paper bins – Sorted by color or texture for collage and free creation
- Pre-cut shapes and forms – For thematic projects or beginners
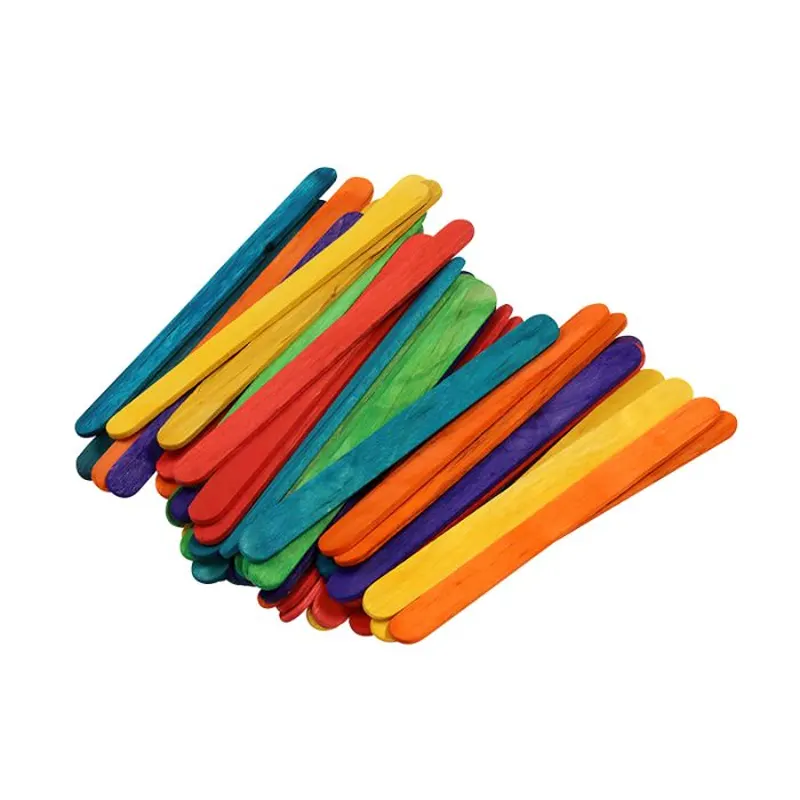
- Popsicle sticks, fabric scraps, feathers – Support multi-surface gluing
- Safety tweezers or tongs – Optional, but great for picking up small pieces
Place scissors and glue in low trays or divided tabletop caddies so children can help themselves and clean up easily. For scrap materials, clear bins or drawer units labeled by material type help promote choice without chaos.
This zone is perfect for early construction projects, mixed-media art, and developing independence. Children learn to plan, sequence, and physically build ideas—key skills for both art and early academic development in the preschool art center classroom.
Craft & Collage Materials
The craft area is where children turn imagination into something tangible. It encourages creative risk-taking, storytelling, and the ability to think in layers—both visually and conceptually. In a well-prepared art center in preschool, this area should feel abundant but organized, allowing for both structured projects and spontaneous exploration.
Key materials to stock:
- Construction paper – A range of sizes, textures, and colors
- Tissue paper – Soft, layered, and ideal for collages and transparency effects
- Scrap fabric and felt pieces – Add tactile diversity and layering possibilities
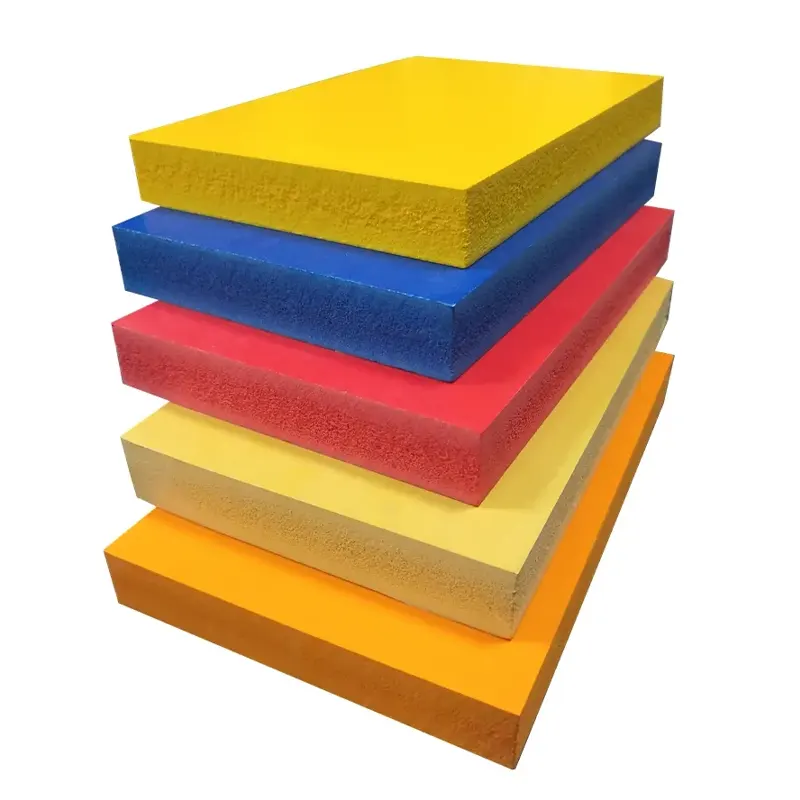
- Foam sheets – Easy to cut and glue, great for 3D structures
- Buttons, sequins, and googly eyes – Fine motor boosters and decorative fun
- Pipe cleaners – Flexible and sculptural, great for open-ended building
- Pom-poms and feathers – Add volume, softness, and movement
- Craft sticks and toothpicks – Useful for simple construction and spatial design
- Beads and laces – For pattern-making, threading, and coordination
- Old magazines or catalogs – A sustainable way to provide imagery for collage
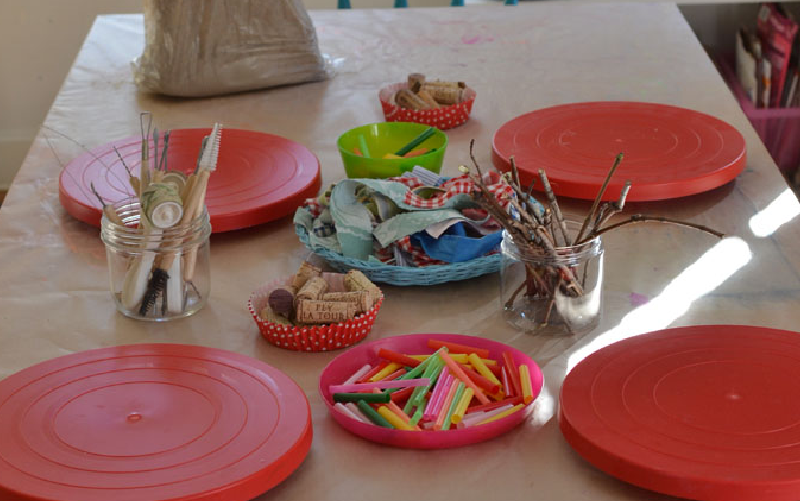
To keep materials manageable, use open bins with picture labels for non-readers. Many teachers also create a “today’s choices” tray with selected craft items to guide activity themes or limit options when needed. Rotate supplies regularly to keep interest high without cluttering the space.
This zone is where you’ll often see children creating cards, decorations, puppets, and characters. It’s about assembling, layering, and combining materials in personal and expressive ways—one of the clearest indicators of growth in a preschool art center.


Sensory & Tactile Materials
The sensory area often feels like the heart of curiosity in a preschool art center. It invites children to touch, squeeze, press, and mold—engaging their senses while building strength and confidence. Especially for younger or sensory-seeking learners, this part of the center offers calm, focus, and joy through hands-on exploration.
Essential sensory and tactile tools:
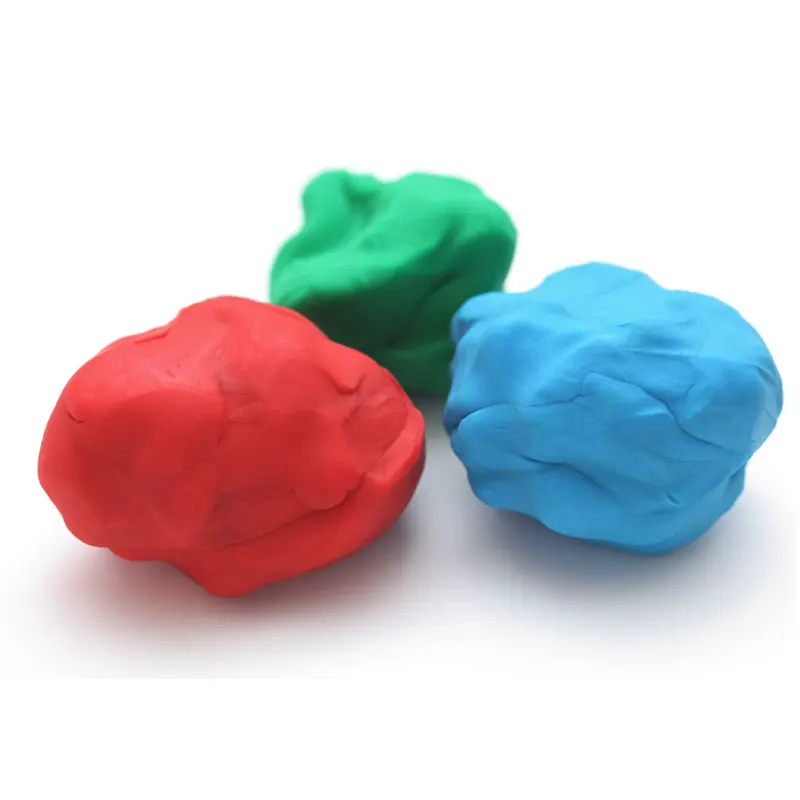
- Playdough (homemade or store-bought) – For rolling, flattening, and sculpting
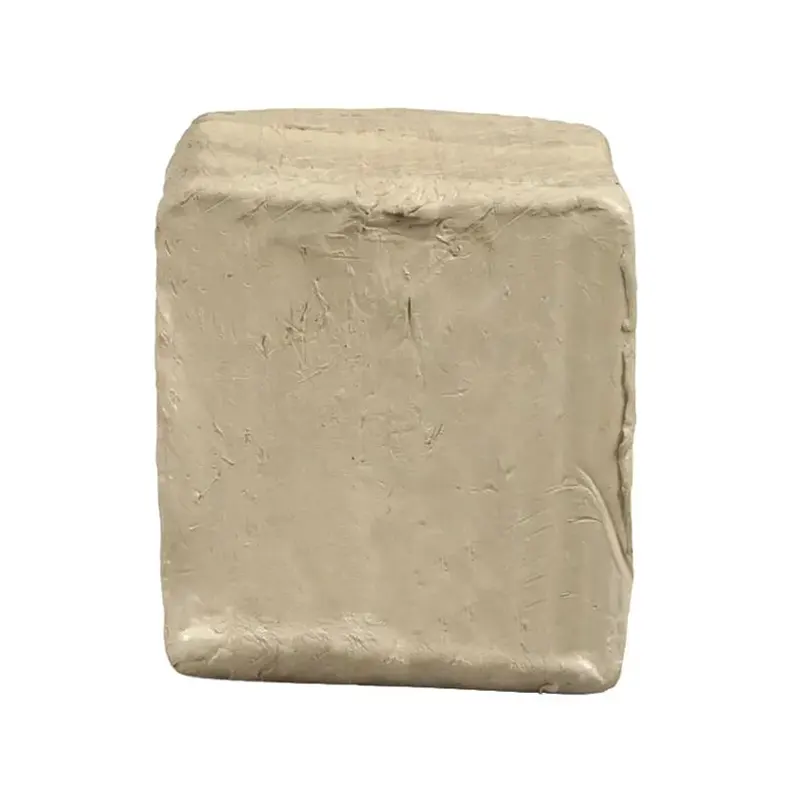
- Air-dry clay or modeling clay – Adds firmness and shape-holding possibilities
- Kinetic sand or cloud dough – Offers resistance and soft texture interaction
- Textured rollers and stamps – Great for creating patterns and fine muscle movement
- Silicone mats or trays – Keep the mess contained and easy to reset
- Molding tools, plastic knives, and cutters – Help with shaping and imaginative play
- Natural items (leaves, bark, stones) – Add sensory diversity and seasonal variety
- Sensory bottles or bins – Optional, but can complement calming routines
- Scented materials – Vanilla, mint, or lavender playdough to enrich the experience
- Fabric textures (burlap, velvet, fleece) – Encourage tactile comparison
Many classrooms set this up on a low table with washable surfaces, or even on the floor with a dedicated mat or rug. Keep storage simple—airtight containers for dough and clay, labeled drawers for tools, and a sanitizing routine for shared items.
Unlike other zones, this area doesn’t always lead to a “finished product.” Instead, it gives children the space to build muscle control, soothe big emotions, and develop confidence with their hands. It’s an often-underestimated but essential part of any preschool art center setup.
When each of these material types is thoughtfully chosen and well-organized, the art center in your preschool classroom becomes more than a place to make crafts—it becomes a hub for self-expression, exploration, and developmental growth.
When each of these material types is thoughtfully chosen and well-organized, the art center in your preschool classroom becomes more than a place to make crafts—it becomes a hub for self-expression, exploration, and developmental growth.
Step 5: Set Rules and Manage the Art Center Effectively
A well-functioning preschool art center depends on more than materials and furniture—it requires clear rules and consistent classroom management. Children thrive when they understand what’s expected, and teachers benefit from a center that stays clean, safe, and productive.
Here’s how to set up simple systems that keep your art center working smoothly every day.
Create Clear, Simple Rules
Rules in the art center help children stay safe, respectful, and responsible. Keep them short, visual, and easy to follow.
Sample preschool art center rules:
- Take only what you need
- Use scissors and glue carefully
- Respect everyone’s artwork
- Clean up before you leave
- Ask for help when needed
You can use visual rule posters with icons to support non-readers, and review them regularly—especially at the start of the year or when new materials are introduced.
Establish Predictable Routines
Managing an art center means building habits, not just giving instructions. Structure your routines so children know:
- When they can visit the art center
- How to choose materials
- Where to put finished work
- How to clean up their space
Use a visual schedule or center rotation board to guide timing and expectations, especially if your classroom uses center time management systems.
Assign Responsibilities
One way to build classroom ownership is to assign art center helpers or cleanup buddies. These roles give students a chance to lead and support their peers, reinforcing accountability and pride in their space.
You might also use:
- Name cards or tags to limit group size
- Individual folders for ongoing projects
- Cleanup checklists with photos
Keep It Manageable for You Too
Classroom management isn’t only about the children—it’s about setting up a space that works for you as a teacher.
- Store extra supplies out of reach to avoid overwhelm
- Rotate materials based on projects or themes
- Use mobile storage carts to reset or relocate easily
- Build in time for restocking and resetting each week
If children can’t maintain the center independently, simplify it. Fewer choices can still lead to powerful creativity—and a lot less stress.
By combining clear rules, consistent expectations, and thoughtful management systems, your preschool art center becomes more than just a place for creativity—it becomes a space of trust, confidence, and community.
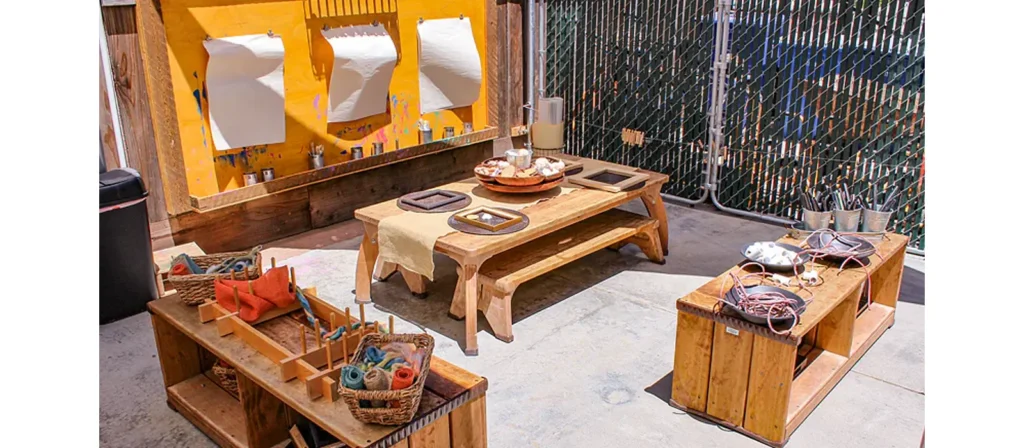
Outdoor Art Center Set-Up Ideas for Children
Not every preschool has the luxury of outdoor space—but if yours does, it opens up a whole new world of creative possibilities. An outdoor preschool art center provides children with room to move, freedom to explore, and direct access to nature as an artistic resource. With the right setup, it becomes an inspiring extension of your indoor classroom.
Why Set Up an Outdoor Art Center?
Adding an outdoor space isn’t just about mess-free painting. It creates unique learning experiences by:
- Allowing larger, more physical art (think murals, spray painting, or body tracing)
- Encouraging the use of natural materials (leaves, twigs, pebbles, sand)
- Promoting collaborative projects that require more space
- Making cleanup easier for messy activities
- Supporting sensory needs with fresh air, movement, and textured materials
Key Materials for an Outdoor Art Center
The materials for outdoor use need to be weather-resistant, washable, and easy to store or move. Here are a few must-haves:
- Washable outdoor easels
- Rolling carts for paint and tools
- Sidewalk chalk & stencils
- Large-format paper or kraft rolls
- Spray bottles for water art
- Buckets for water-based painting or rinsing brushes
- Natural brushes (made from leaves, pine needles, sticks)
- Recycled trays or plastic bins for sorting materials
You can also include portable art tables or repurpose picnic tables with art mats.
Storage and Weather Tips
- Use waterproof storage bins with lids to keep materials dry and organized
- Choose UV-resistant carts or covered trolleys for long-term outdoor use
- Consider a covered area or canopy to protect against the sun and rain
- Bring in materials daily or weekly, depending on your climate and usage
Safety and Supervision Considerations
Because it’s outdoors, your art center must also consider:
- Visibility for teachers (keep the area within sight lines)
- Non-toxic, washable materials only
- No small, loose pieces in windy areas
- Easy access to water and cleanup tools
Whether you build a full outdoor studio or roll out materials once a week, having an outdoor art center adds incredible value to your preschool art center setup. It fosters creativity, connects children with nature, and turns even the simplest outdoor space into a rich environment for learning.
Try themed activities like:
- Leaf printing on canvas
- Rock painting and building
- Mud painting or nature sculptures
- Found object collages using flowers, bark, and seeds
By giving children tools and nature, you expand what “art” means—transforming your preschool art center into a multi-sensory exploration zone.
How Different Educational Philosophies Shape Preschool Art Centers
Not all preschool classrooms approach art the same way. The setup of a preschool art center can vary significantly depending on the educational philosophy guiding the classroom. Whether you’re following Montessori, Reggio Emilia, Waldorf, or a project-based approach, understanding how each method interprets art can help you create a center that feels truly integrated and purposeful — not just beautiful, but meaningful.
Here are some of the most common educational approaches and how they influence the design, materials, and functionality of the preschool art center:
Montessori Classrooms
Focus: Independence, order, simplicity
- Art materials are presented on low, open shelves in neatly organized trays or baskets.
- All tools must be easy to access and return independently (e.g., scissors, glue sticks, color pencils).
- Encourages process-based art over product-focused results.
- Minimal wall clutter; artwork may be stored in individual portfolios rather than displayed.
Recommended Products: Small art trays, open shelving, individual supply baskets, natural materials.
Reggio Emilia Classrooms
Focus: Self-expression, documentation, the environment as the “third teacher”
- Art centers are central to the classroom and often take up a large, light-filled space.
- Materials are abundant and visible to invite curiosity.
- Displays of children’s artwork are thoughtfully curated and change frequently.
- Teachers document children’s creative process with photos and notes.
Recommended Products: Glass jars for display, clipboards for observation notes, wall panels, child-height easels, light tables.
Waldorf Classrooms
Focus: Rhythm, beauty, natural materials, imagination
- Uses soft colors, gentle lighting, and natural wood furniture.
- Materials are chosen for sensory qualities—like beeswax crayons, watercolor paints, and wool.
- Art is integrated with seasonal rhythms and storytelling.
Recommended Products: Wooden art shelves, beeswax modeling clay, silk cloths, woven baskets, felt boards.
HighScope or Project-Based Learning (PBL)
Focus: Active learning, choice, child-led planning
- Art centers are flexible and child-managed.
- Children are encouraged to plan their art project, carry it out, and clean up independently.
- Emphasizes open-ended materials and easy access.
Recommended Products: Mobile carts, labeled bins, tabletop easels, storage cubbies, planning charts or idea boards.
Conclusion
Setting up a preschool art center is more than just arranging tables and stocking materials — it’s about creating a learning-rich environment where creativity, independence, and development flourish side by side. From choosing the right location and planning functional zones, to selecting age-appropriate materials and aligning with educational philosophies, every decision shapes how children engage with art on a daily basis.
A well-designed art center in preschool not only supports artistic expression but also strengthens fine motor skills, promotes self-regulation, and encourages collaboration — making it a powerful tool across early childhood education. Whether you’re just starting or refining your classroom, these preschool art center ideas can help you build a setup that is beautiful, functional, and deeply connected to how young children learn.
By thoughtfully integrating the right preschool art center materials, storage systems, and rules, you create a space that fosters confidence and creativity. And don’t forget — your preschool art center setup can (and should) evolve over time based on student needs, curriculum goals, and seasonal themes.
Ultimately, a strong art center for preschoolers becomes more than just a corner of the classroom — it becomes a space of joyful discovery.
FAQs
- 1. What are some art center ideas for preschool?
Rotate themes like seasons, animals, or recycled art. Add simple sensory areas or shadow drawing stations to keep your preschool art center fresh. - What are essential preschool art center materials?
Must-have items include crayons, glue, scissors, paint, paper, and storage bins. Seasonal or thematic tools can boost engagement. - What are some preschool art center rules?
Keep rules simple: use tools gently, clean up after yourself, and respect others’ artwork. Visual reminders work well for young children. - How to label the art center in a preschool classroom?
Use picture-word labels at the child’s level. Color-coded bins and icons help preschoolers identify and return materials easily. - How often should materials be rotated?
Swap out special materials every 2–4 weeks based on themes or student interest, while keeping staple tools available. - Should art centers be changed for each theme or season?
Yes. Updating your preschool art center to match classroom themes makes the space more meaningful and engaging.